

![Backkurs Holzbackofen 3[3]](https://www.hefe-und-mehr.de/wp-content/uploads/2017/07/Backkurs-Holzbackofen-33.png "Backkurs Holzbackofen 3[3]")
Blazing heat was not on our mind when we planned this baking course in the middle of a snowy winter. We thought about pouring rain and a typical humid cold German summer day and about how to keep everyone save and dry. Instead we had a blue, cloudless sky and more then 30°C . Luckily the wood fired oven in which we planed to bake the breads seated under the branches of a big plane tree. Two additional parasols added enough shade to keep the course participants and me cool. And we had a never ending supply of cold drinks, too!
![Backkurs Holzbackofen 4[3]](https://www.hefe-und-mehr.de/wp-content/uploads/2017/07/Backkurs-Holzbackofen-43.png "Backkurs Holzbackofen 4[3]")
Those temperatures make it necessary to keep a good dough management. Our preferments where made with less yeast then normal and proofed at the coldest available spot: the windowless wood workshop. The doughs where made with less yeast and really cold water and proofing was measured by the readiness of the loaves and not by time. This you should do anyway at anytime (see here) but at summer temperatures it is more necessary then in cold environments. And all this could not prevent us from proofing the first batch a bit to long because the oven needed some more time to cool down. Finding the right point between perfect oven temperature and perfect proofing state is one of the things that makes baking in a wood fired oven such a fascinating thing!
![Backkurs Holzbackofen 5[3]](https://www.hefe-und-mehr.de/wp-content/uploads/2017/07/Backkurs-Holzbackofen-53.png "Backkurs Holzbackofen 5[3]")
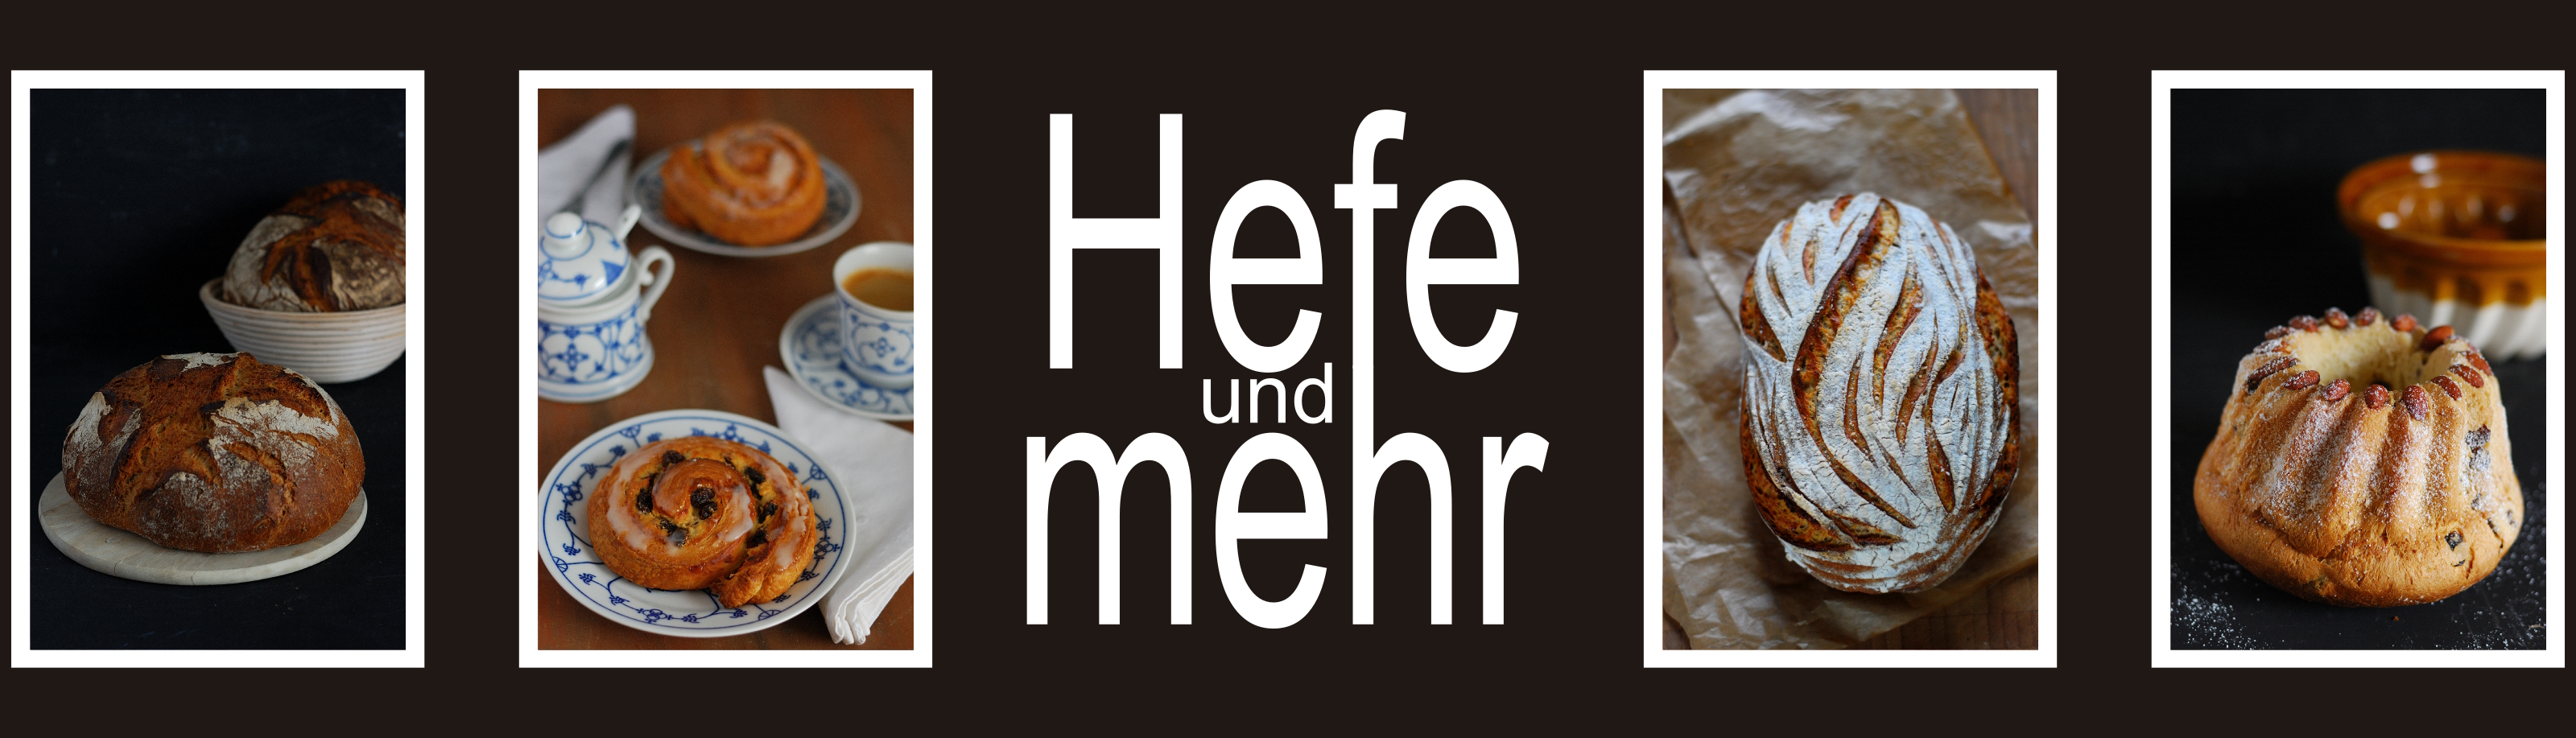
When we reheated the oven for the second batch, the participants and me were even more alerted and this time heat and proofing was as perfect as it should be. And at the end of day we had a heap of 33 Breads and 60 rolls made of 19 kilogram flour in about 6 hours.
Additionally I set up a pizza dough recipe the night before and we baked some pizzas while the oven was still to hot for baking bread. But – as it can happen with many chatting people – some more water was added to the dough as I planned. Adding some psyllium hulls soak up the excess water and helped to stabilize the dough. And as the recipe was not in the recipe brochure I will post it for all of you.
![Backkurs Holzbackofen[3]](https://www.hefe-und-mehr.de/wp-content/uploads/2017/07/Backkurs-Holzbackofen3.png "Backkurs Holzbackofen[3]")
Something important when baking pizza is to proof the round shaped pizza dough proberly before stretching the pizza base. I learned this lesson from an italian pizza baker and since that time forming a pizza is so easy for me. Due to the longer resting periode the gluten network relaxes and more air bubbles form in the crust.
Bamlacher Pizza dough
for 4 round Pizzas
Poolish
- 150g flour Type 550
- 150g Water
- 0,5g fresh yeast (a tiny bit)
Teig
- Poolish
- 350g flour Type 550
- 200g Water
- 4g pysilium hulls
- 10g Salt
- 10g fresh yeast
- 10g olive oil
Mix all ingredients for the poolish and ferment it for 12 hour at room temperature.
Knead all ingredients for the dough for 10 min. The dough is a little bit sticky now, but that is ok.
Now place the dough in a good oiled container and ferment for 1.5hours. Give the dough two folds during this time.
Now divide the dough into 4 pieces of 220g each and shape it to balls.
Proof for 60 min.
Stretch the dough into pizzas of 30 cm diameter and top it with everything you like on a pizza.
Bake 2-3min at 450°C (or about 10 min at 250°C).
Deutsch
Heute gemacht: definitiv und mit Abstand meine beste eigene Pizza bisher. Und die Ruhe-Stunde vor dem Backen tut dem Teig wirklich sehr gut — so ließ er sich problemlos ganz dünn ziehen. Super!
(Ich hätte natürlich gern die Süße-Starter-Variante probiert, die ja momentan Dein Favorit zu sein scheint, hab aber leider immer noch keinen, deshalb dieser Ausflug etwas tiefer ins Archiv.)
@Brigitte: Das freut mich 😀
Der pizzateig ist der Hammer, das wird unser Lieblingspizzateig! Habe Poolish mit 630er Dinkel angesetzt, den Rest dann mit dem italienischen 00 Pizza Mehl, das ist unglaublich lecker.
Gibt es aber auch eine Variante, wenn ich zb abends den Poolish ansetze und eigentlich auch erst am nächsten Abend, zb 17 oder 18 Uhr, die Pizza machen will? Das Rezept oben ist ja perfekt für Pizza zum Mittag. Aber ich wollte mich erst vergewissern inwieweit man welchen Schritt auch ein paar Stunden verzögern könnte… Danke! Lg
@Lydia: Das freut mich. Reduzier die Hefemenge auf 5g und stell den Teig nach dem Kneten in den Kühlschrank. Falls du in der Nähe bist, kannst du ihn zwischendurch schon mal zusammenfalten. Wenn du in der Nähe bist, kannst du Mittags schon die Teiglinge formen und gut abgedeckt im Kühlschrank bis abends weitergehen lassen, dann bist du absolut flexibel und kannst mit dem Pizza backen loslegen, wann immer dir den Sinn danach steht 🙂
Hallo Stefanie
schau mal auf meine Home da sind noch mehr Bilder vom Backkurs drauf.
http://www.badbellingen-urlaub.de
Liebe Grüße Susanne
@Susanne: Das ist super!
Wow, sieht alles sehr einladend und lecker aus – zum Reinbeißen! Herzliche Grüsse aus Frbg. und einen schönen Urlaub wünscht Konni
Wau toll! Ich backe auch im Holzbackofen, das ist schon noch was anderes, als im Elektroofen! Wo habt ihr so eine Teigmolle her?
@Richard: Die Teigmolle wurde von der Besitzerin des Ofens bei einer Bäckerei-Auflösung vor dem Verschrotten gerettet. Ich fand die Teigmolle auch toll 😀
Hallo Stefanie,
Auch im fand den Backkurs sehr schön und lehrreich. Gegen eine Wiederholung hätte ich auch nichts einzuwenden.
Vielen Dank nochmal an alle.
Liebe Grüße aus Schwäbisch Hall
Susanne
Hallo Stefanie ,
vielen Dank nochmals es war einfach schön .
Alle waren begeistert.
Hoffe wir können es wiederholen.
Gruß Susanne
@Susanne: Ich fand es auch schön 😀 und gegen eine Wiederholung habe ich nichts einzuwenden!
Da wäre ich gerne dabei gewesen 😊
Liebe Grüße